Menu

read more
We hated learning to write copperplate at school, but now beautiful writing is THE DIY trend in 2016: hand lettering, calligraphy and sketch notes. Find out from Anna how to do it. Plus: step-by-step guide for your next menu card.
What is the difference between hand lettering, calligraphy and sketch notes?
“Hand lettering is the art of drawing individual letters,” Anna reveals. “Particular attention is paid to each letter.” The letters are written either with a special pen (pen lettering) or a brush (brush lettering). The brush pen is a combination of both writing implements. Calligraphy is the art of writing beautifully with a fountain pen or a quill. “It’s not only writing something that we’re familiar with from everyday life, but also about drawing the letters and making them look distinctive,” Anna explains. She sells her own creations through her online shop. She also offers special calligraphy courses where you can learn all the basics, from the materials to the anatomy of the letters. Sketchnotes are a combination of sketches and notes that promote visual thinking.
Practice makes perfect
Anna is a real all-round talent: online marketing manager, blogger, and hand lettering professional. On www.annakalligraphie.de everything revolves around the art of writing beautifully. “I’ve been interested in beautiful writing for a long time,” she explains. For Anna, the most important things when it comes to hand lettering are: find your own style; and don’t let minor setbacks put you off. And once you start, stick with it – practice, practice, practice!
Anna has put together a little step-by-step tutorial specially for you, with which you can craft a distinctive menu card for your next dinner party. This (in addition to your tasty food, of course) is sure to seriously impress your guests because, as we all know – we eat with our eyes as well.
Anna’s Hand Lettering Tutorial
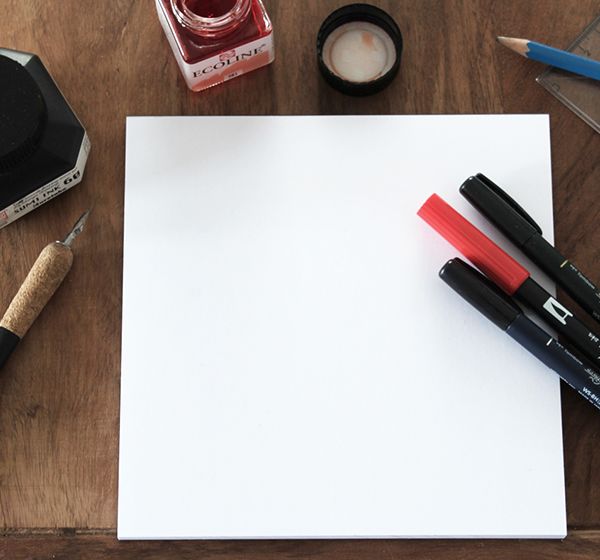
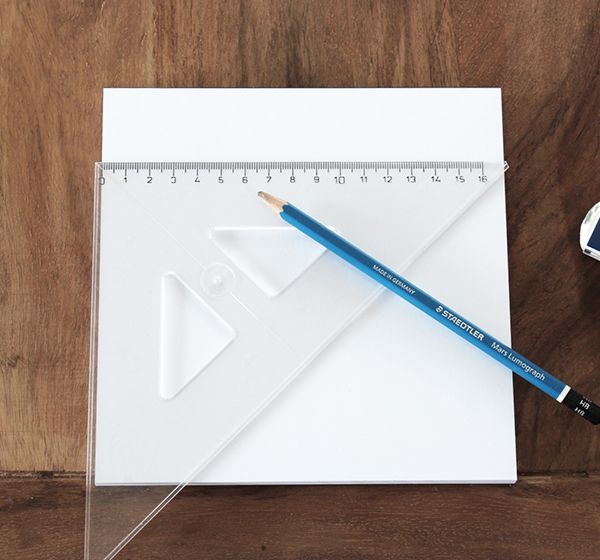
1. Setting up your workplace
Remove everything that is distracting, or can tip over. You need space to do lettering. Apart from that, you should have all the materials you need at hand. And an important point if you have long hair: tie it up! Otherwise your hair will fall on the paper.
2. Draw in your reference lines
Beforehand, I think about how many lines I’ll need, and roughly what length those lines should be. The pencil lines ensure that everything remains straight and is centrally positioned on the sheet. So, for the menu card here, I’ve drawn seven lines, centre-aligned on the sheet.
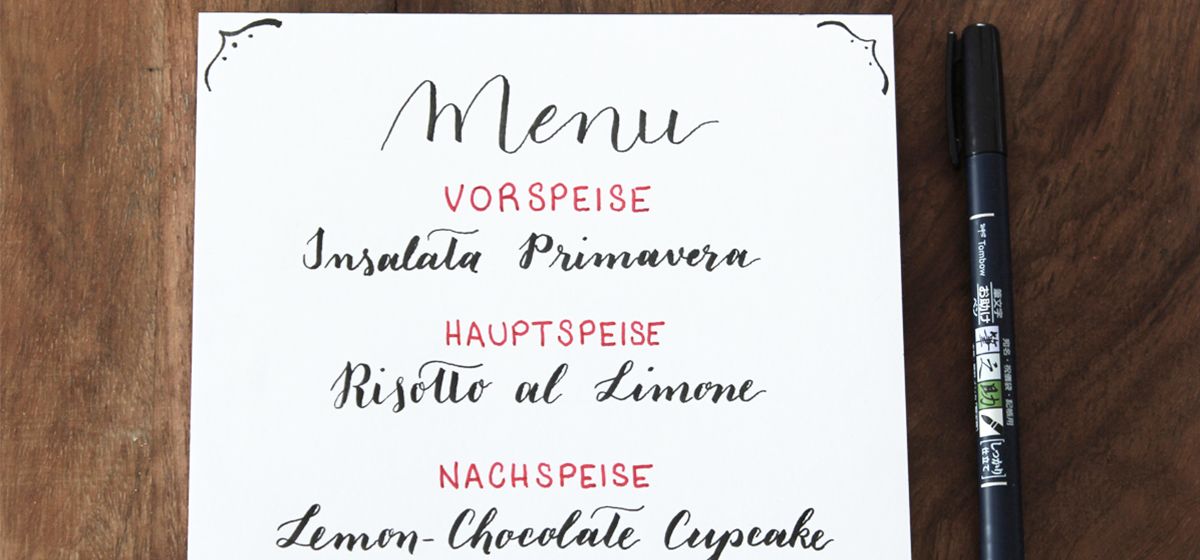
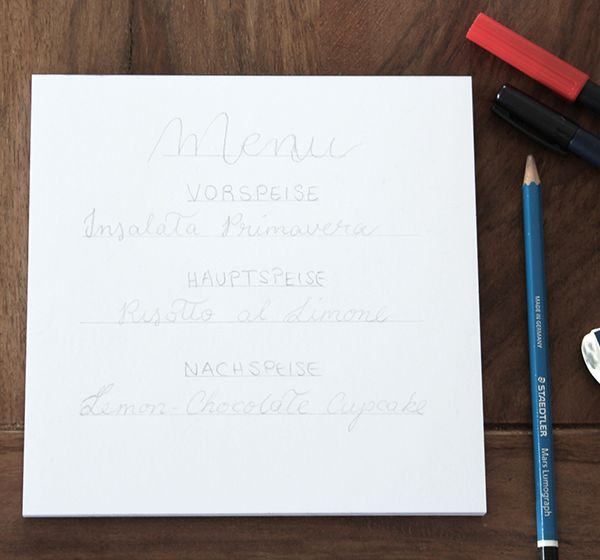
3. Write the text with pencil first
This helps me to see whether everything fits, whether I like the layout, or whether I need to change something. This is where I decide on the text styles that I want to use for the menu. With this menu card, I’ve decided on a mix of relatively plain capital letters (for the headings) and curved hand lettering (for the dishes). The mix of different text styles is what makes the document as a whole look interesting.
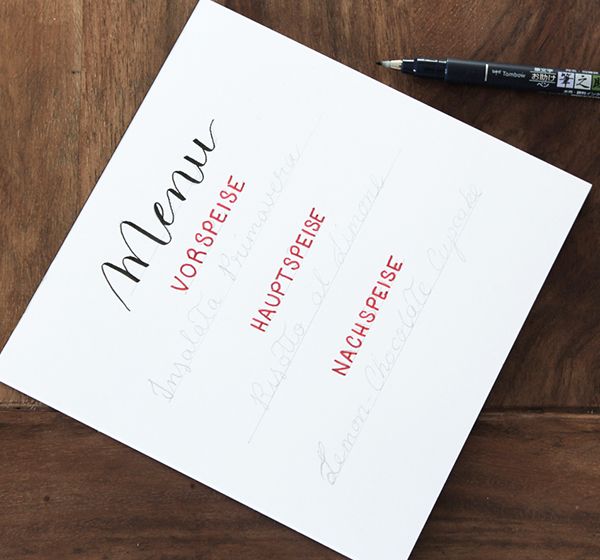
4. Turn once, please!
If
I like everything, and I’m satisfied with my pencil draft, as a
right-hander, I turn my drawing pad diagonally to the right, so that I
have the correct position for using the brush pen. Then I draw in the
individual letters.
5. Add embellishments
To finish
off, I add ornamentation such as dots or lines. Again, I sketch them in
first with pencil and then, if I like them, I draw them with the brush
pen.
6. Be patient
Ideally, you should let your
lettering dry overnight, so that when you’re making erasures, you don’t
end up with any unsightly smudging. Now all you have to do is erase all
of the pencil lines and – voila! your menu card is ready.
Hoping you’ll have lots of fun with copying, experimenting, and producing beautiful writing!

Author
Jana, Marketing Manager